Published on:
10 min read
Fashion Design Buying Guide: 7 Smart Tips for Beginners
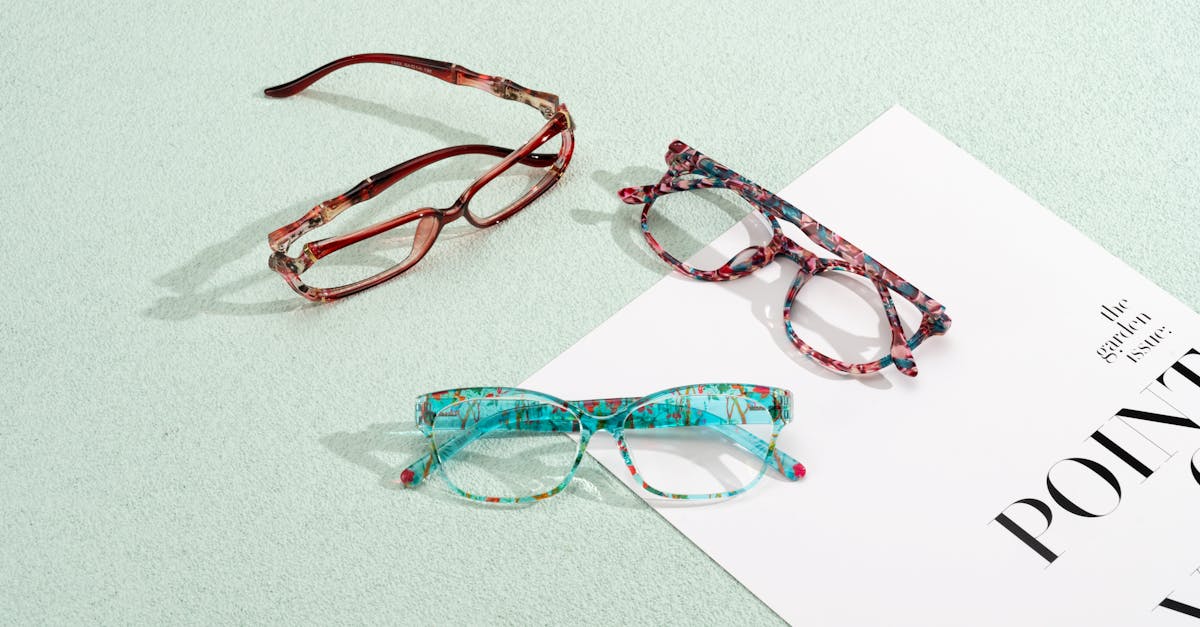
Starting in fashion design is exciting, but beginners often waste money on the wrong tools, low-value courses, and supplies that look impressive but do little to build real skill. This guide breaks down seven smart buying tips that help new designers spend strategically, learn faster, and avoid common beginner traps. You’ll learn what to buy first, what can wait, how to compare sewing machines, fabrics, sketching supplies, and software, and why building a small but useful toolkit matters more than chasing a studio-worthy setup. Along the way, the article uses practical examples, realistic budget ranges, and balanced pros and cons so you can make confident decisions. Whether you want to create garments for yourself, launch a small brand, or simply explore fashion design seriously, this guide will help you invest in the tools and learning resources that give the highest return in the early stages.
- •Why beginners overspend in fashion design and how to avoid it
- •Tip 1 and 2: Set a real budget and choose a sewing machine that matches your level
- •Tip 3 and 4: Buy fabric for learning, not fantasy, and build a small toolkit that earns its keep
- •Tip 5: Compare software, sketching supplies, and courses based on output, not hype
- •Tip 6 and 7: Know when to buy secondhand, and shop with projects instead of wish lists
- •Key Takeaways and next steps for building your beginner fashion design setup
Why beginners overspend in fashion design and how to avoid it
Fashion design has a low barrier to entry emotionally and a surprisingly high one financially. Many beginners start with inspiration from social media, fashion school vlogs, or designer interviews, then assume they need everything at once: a dress form, an expensive sewing machine, premium fabric shears, software subscriptions, dozens of fabrics, and a wall of markers. That buying pattern is common, and it is usually the fastest route to regret. In practice, most beginners use only a small percentage of what they buy in the first six months.
A smarter approach is to buy in stages based on the skills you are actively building. If you are learning garment construction, your money should go first to a reliable basic sewing setup and affordable practice fabric. If you are focused on sketching and concept development, your first purchases should support drawing, mood boards, and portfolio organization. This matters because early progress in fashion design comes from repetition, not from collecting tools.
A realistic beginner setup often falls between $250 and $900, depending on whether you already own a laptop and whether you buy new or secondhand equipment. That range is wide because fashion design can be entered at different levels, but the principle stays the same: buy for your next project, not your fantasy future studio.
Pros of staged buying:
- Lower upfront cost
- Less clutter and less decision fatigue
- Faster skill-building because every tool gets used
- You may outgrow some entry-level tools sooner
- It requires patience and planning instead of impulse shopping
Tip 1 and 2: Set a real budget and choose a sewing machine that matches your level
Your first smart buying decision is not picking a brand. It is setting a budget with categories. A practical beginner budget might allocate 40 percent to a sewing machine and core tools, 25 percent to fabric and notions, 15 percent to learning resources, 10 percent to sketching or pattern supplies, and 10 percent as a buffer for mistakes. That final buffer matters more than people expect. Beginners routinely ruin zippers, cut fabric incorrectly, buy the wrong needle type, or discover they need interfacing halfway through a project.
The next big decision is your sewing machine. For most beginners, a mechanical machine in the $150 to $350 range offers better value than a feature-heavy computerized model. Brands like Brother, Janome, and Singer all have entry-level options, but what matters most is reliability, ease of threading, straight stitch quality, zigzag consistency, and access to local servicing. A machine with 60 decorative stitches sounds appealing, but most beginners use only straight stitch, zigzag, buttonhole, and reverse in the early months.
Pros of buying a basic mechanical machine:
- Easier to maintain and troubleshoot
- Usually less expensive to repair
- Encourages learning core sewing fundamentals
- Fewer convenience features such as speed control or automatic thread cutting
- May struggle with very thick seams compared with higher-end models
Tip 3 and 4: Buy fabric for learning, not fantasy, and build a small toolkit that earns its keep
One of the costliest beginner mistakes is buying beautiful fabric too soon. High-end linen, silk charmeuse, wool suiting, and designer deadstock look motivating, but they can be unforgiving when your cutting accuracy and seam control are still developing. A better strategy is to separate practice fabric from final fabric. Use muslin, broadcloth, cotton poplin, and inexpensive stable blends for fitting, pattern tests, and first versions. In many markets, practice fabric can cost 60 to 80 percent less than premium apparel fabric, which means you can afford to make mistakes and learn faster.
Your toolkit should follow the same logic. You do not need every gadget in the notions aisle. You need a compact set of tools that directly improves accuracy and finish quality. That usually means fabric shears, thread snips, pins or clips, a seam ripper, soft measuring tape, clear ruler, tailor’s chalk, hand-sewing needles, an iron, and a pressing surface. Pressing is especially underrated. Experienced designers know that pressing during each construction stage can make a $12 fabric look dramatically more polished.
Pros of buying a focused toolkit:
- Lower cost with higher actual use
- Less time wasted hunting for tools you never needed
- Better workmanship because essentials get chosen carefully
- You may need to upgrade items like shears and rulers later
- Specialty projects will occasionally require extra tools
Tip 5: Compare software, sketching supplies, and courses based on output, not hype
Beginners often feel pressure to buy digital tools early because fashion content online makes software look essential from day one. In reality, your choice depends on what you are trying to produce. If your goal is to learn silhouette, color, proportion, and garment details, paper sketching and mood boards may be enough for the first few months. If you want to build a portfolio for internships or freelance work, digital presentation tools become more valuable. The key is to buy tools that help you create visible output: sketches, tech packs, line sheets, or finished project documentation.
Courses deserve the same scrutiny. A $20 course that teaches pattern basics clearly can be more useful than a $900 program heavy on branding language and light on feedback. Before paying, check whether the course includes assignments, demonstrations from multiple angles, pattern adjustment examples, and finished garment walkthroughs. Completion rates in online education are often low, so the best course is not the longest one. It is the one you will actually finish and apply.
For sketching supplies, quality matters up to a point. A beginner usually does not need a giant marker set. A sketchbook, fineliner, mechanical pencil, eraser, and a small range of skin-tone and fabric-rendering markers can go far. If you are digital-first, programs like Adobe Illustrator are useful for flats and technical drawings, while general tools like Procreate support ideation well.
Why it matters: software subscriptions add up. Spending $20 to $60 monthly on tools you barely open can quietly exceed the cost of fabrics and notions over a year. Buy only when the tool improves speed, presentation quality, or job readiness in a measurable way.
Tip 6 and 7: Know when to buy secondhand, and shop with projects instead of wish lists
Secondhand buying can be one of the best financial decisions for fashion design beginners, especially for sewing machines, dress forms, cutting tables, and storage. Many people purchase hobby equipment and use it only a few times, which creates good opportunities in local marketplaces, estate sales, and school resale groups. A used dress form at 40 to 60 percent below retail can be a smart buy if the adjustment mechanisms work smoothly and the body size range suits your target garments. A used sewing machine can also be excellent, but only if you can test stitch quality, pedal responsiveness, and bobbin performance.
The more important tip is to shop by project, not by wish list. Instead of buying random fabric because it is on sale, define one project with a deadline and source only what that project requires. For example, if your next goal is a button-front shirt, buy shirting cotton, interfacing, matching thread, buttons, and the right needle type. That method cuts waste, sharpens judgment, and helps you understand the true cost of garment construction.
Pros of secondhand buying:
- Major savings on expensive tools
- Access to higher-quality equipment within a beginner budget
- More sustainable than buying everything new
- Limited warranties or none at all
- Hidden wear, missing parts, or calibration issues
Key Takeaways and next steps for building your beginner fashion design setup
If you want your first purchases to pay off, keep the process simple and disciplined. The seven smart tips in this guide all point to one bigger idea: buy based on skill stage, not excitement level. Start with a budget, choose a sewing machine you can grow with, use affordable fabrics for practice, build a compact toolkit, evaluate software and courses by actual output, consider secondhand deals carefully, and buy materials around real projects. That combination protects your money and accelerates your learning.
Here is a practical sequence you can follow this week:
- Write down your first two projects, such as a tote bag and an elastic-waist skirt
- Set a hard budget limit before browsing products
- Buy or borrow a reliable entry-level sewing machine
- Purchase practice fabric instead of premium fabric for version one
- Get essential tools only: shears, seam ripper, measuring tape, pins, chalk, iron
- Choose one learning resource and complete it fully before buying another
- Track every expense so you understand your real cost per project
Published on .
Share now!
LH
Lily Hudson
Author
The information on this site is of a general nature only and is not intended to address the specific circumstances of any particular individual or entity. It is not intended or implied to be a substitute for professional advice.