Published on:
5 min read
By Lily Morgan · Home Decor Contributor
My Experience Organizing a Functional Craft Station
Transforming a tiny corner of my home into a crafting station has revolutionized my creative process. What was once a cluttered, forgotten space is now a functional nook where inspiration flows freely.
Why I Needed a Craft Station
After years of crafting at the dining table, I realized the need for a dedicated space where creativity could flourish without the constant need to pack away my projects. I craved an area that felt personal and inspiring, but my home didn’t offer much extra space. Transforming a small corner seemed like an ideal solution, allowing me to keep my supplies accessible and my workspace functional. In this article, I’ll share how I achieved this transformation, the challenges I faced, and the little victories that made it worthwhile. This journey began with a vision to reclaim a tiny part of my living space for creativity, and it ended with a spot that feels truly mine, a place that invites inspiration every time I sit down.
Choosing the Perfect Spot
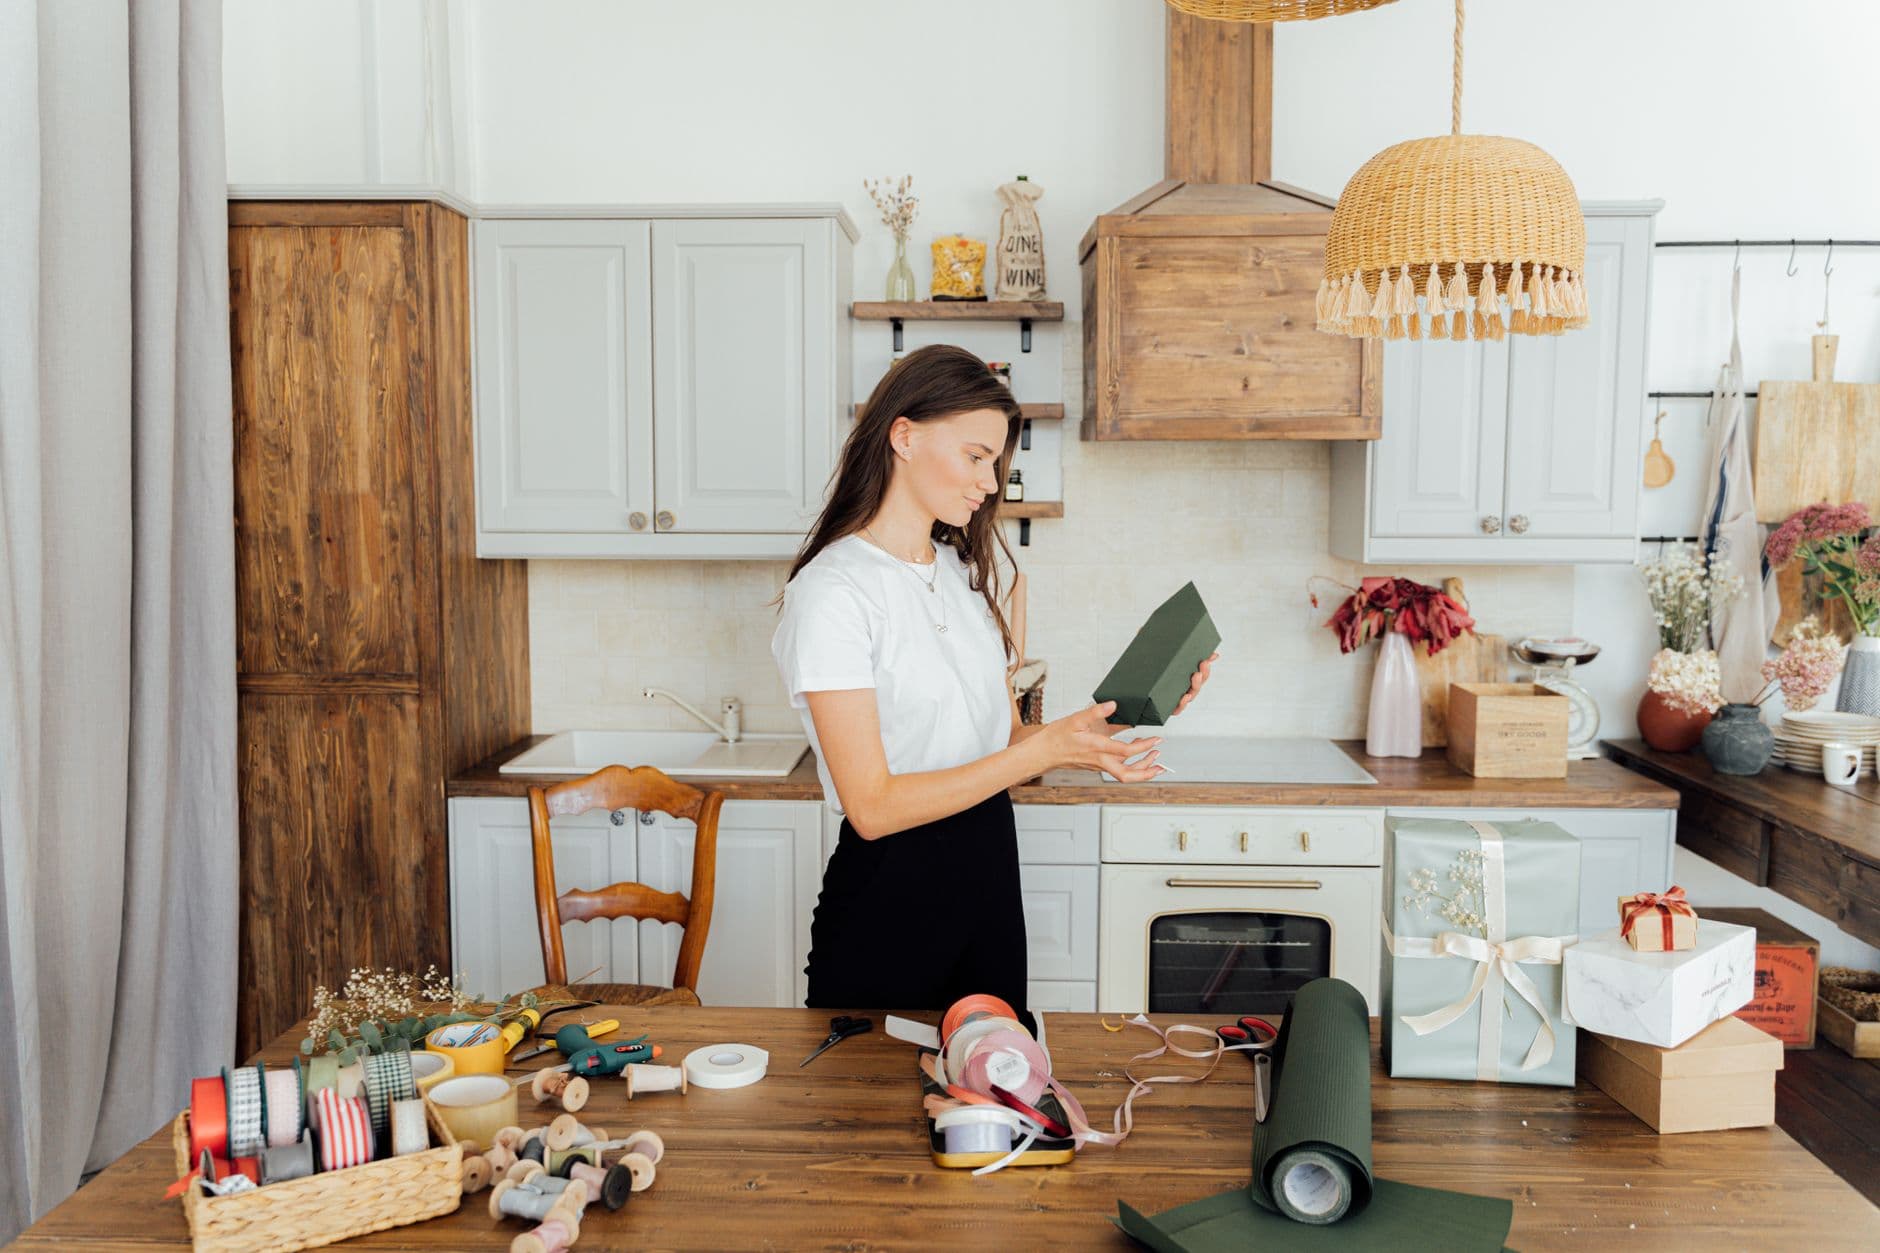
The first step was finding the right corner in my home. I settled on a 4x4 foot space in the living room, tucked between the bookcase and a large window. The natural light was perfect for intricate work, and the location allowed me to be near family activities simultaneously. To make the space functional, I invested in a small desk I found on sale for $80 at a local furniture store. It had just enough surface area for my projects and a few drawers to store essentials like scissors, tapes, and glues.
I also realized early on that the proximity to the window provided a dual benefit—it not only illuminated my workspace beautifully but also offered a calming view of the garden, which is incredibly soothing during creative slumps. I deliberately chose this spot over others because it could blend seamlessly with the room’s existing style, making it a cohesive part of our home rather than a separate entity.
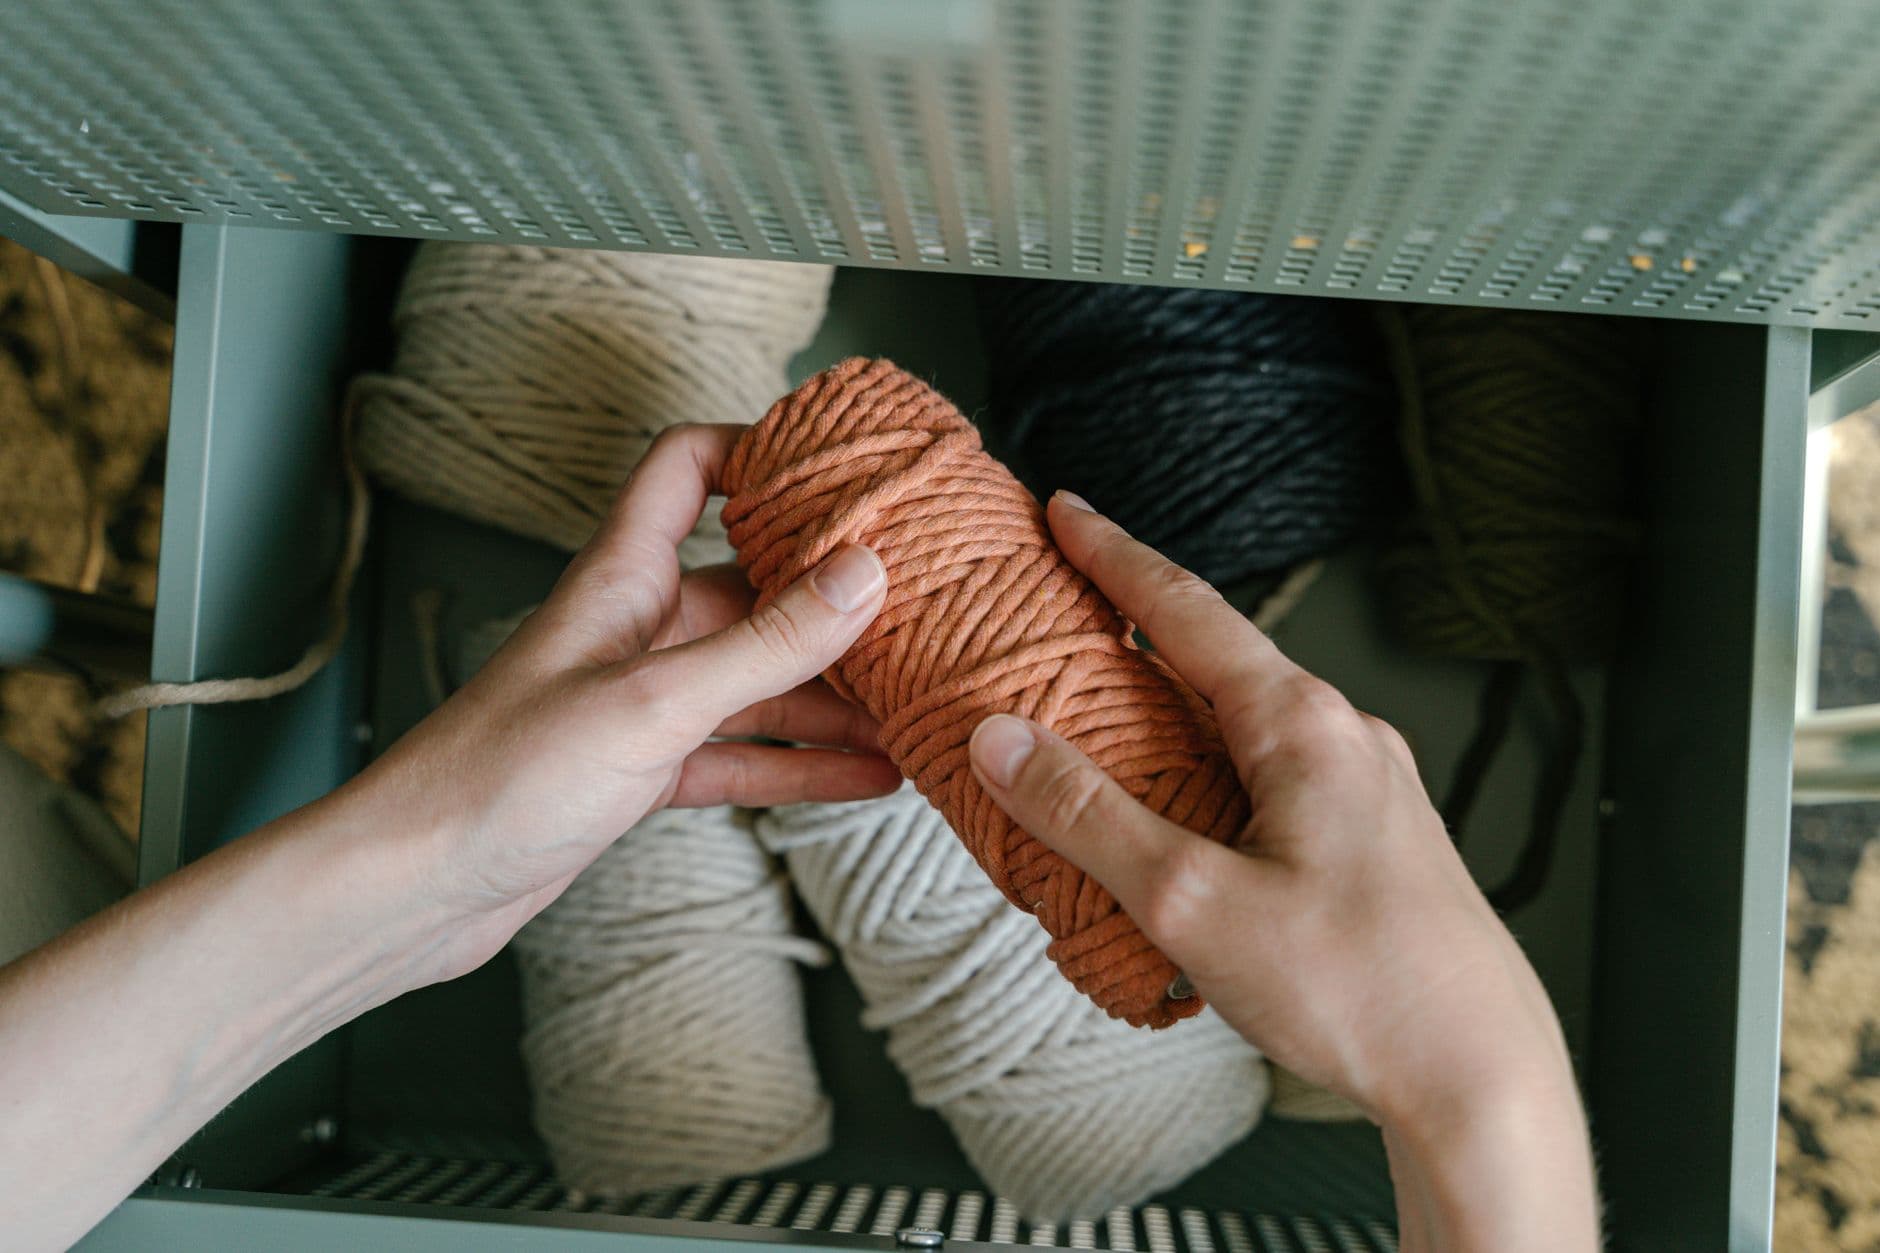
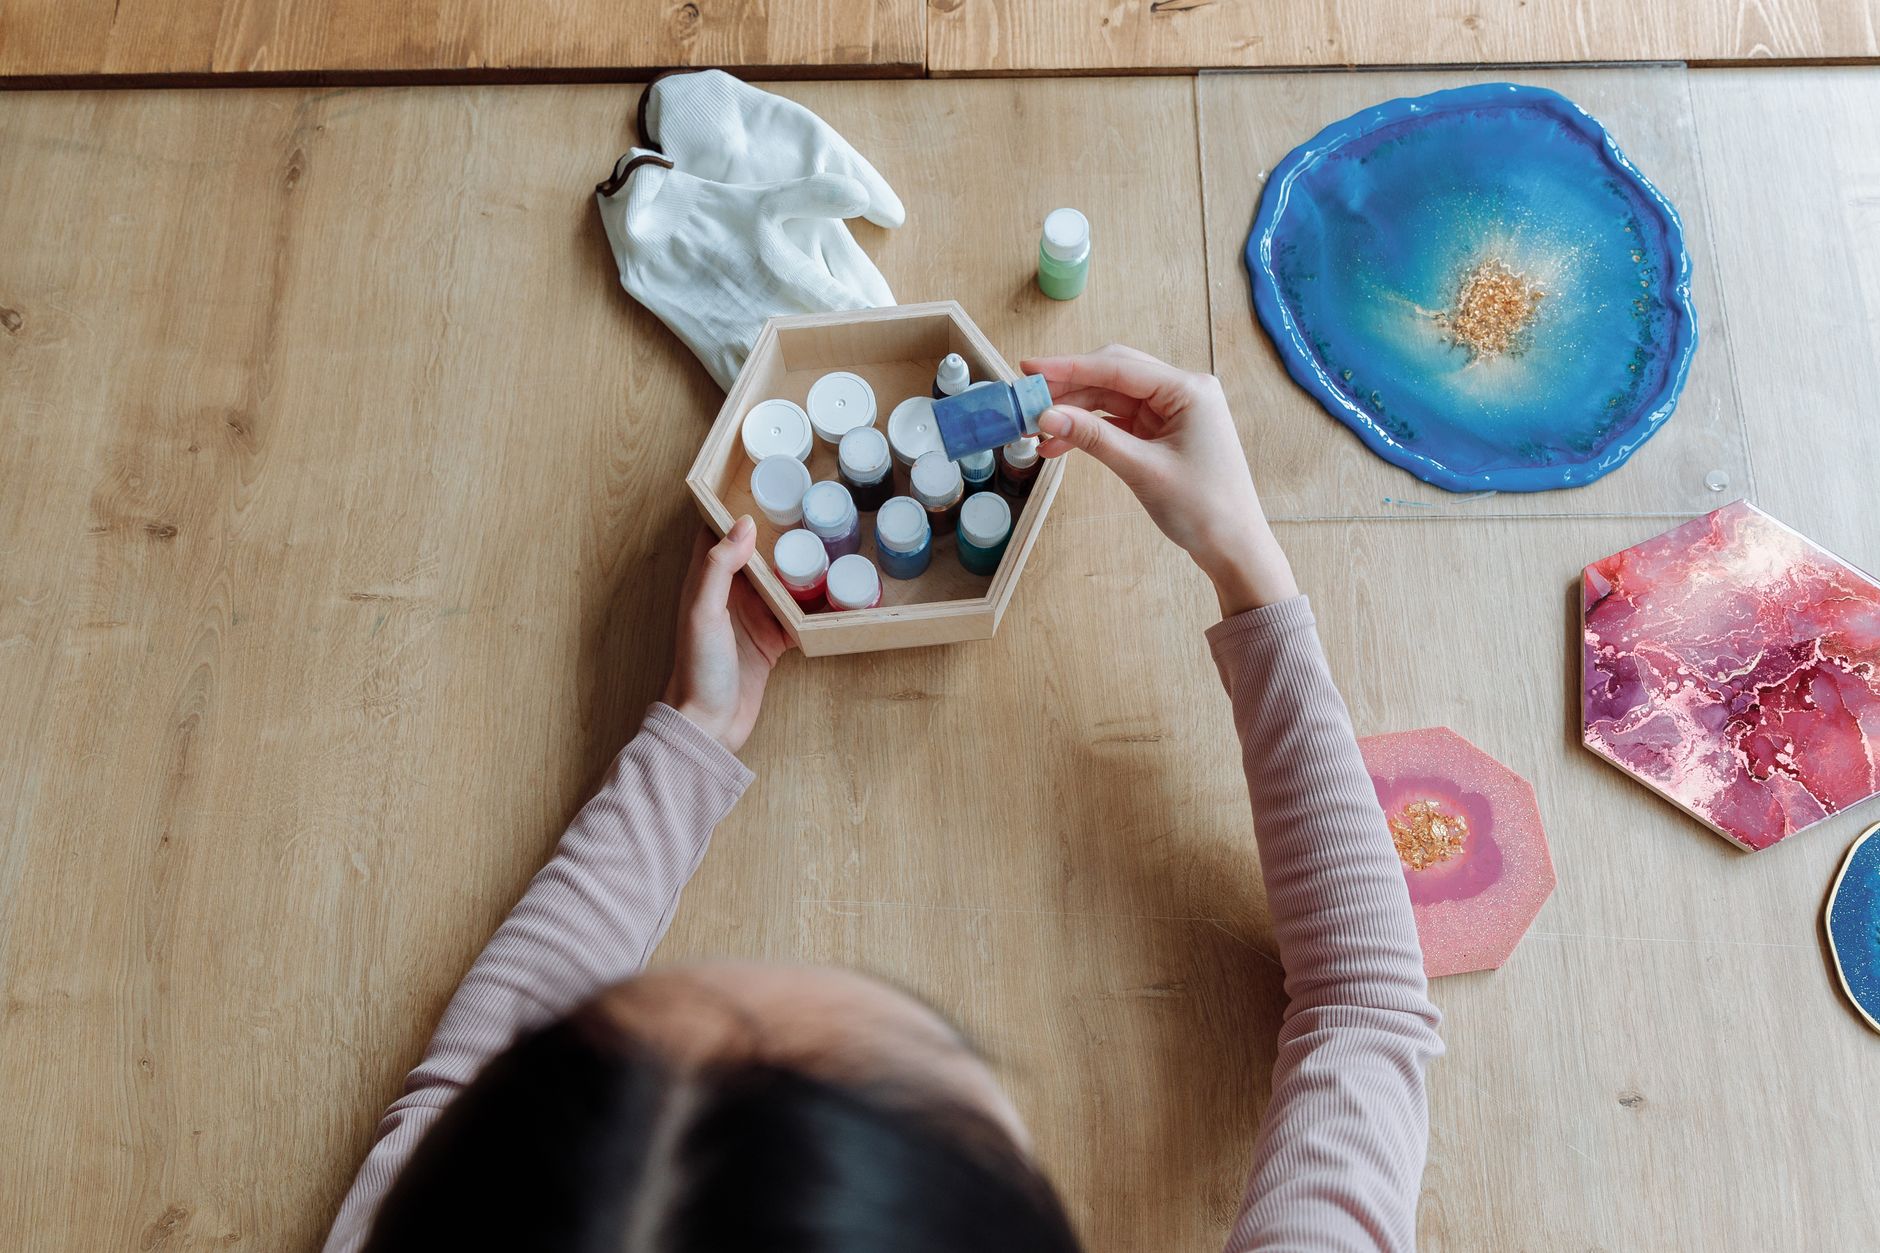
Craft Storage Solutions
For storage, I needed a way to organize my myriad of supplies without cluttering the space. I opted for vertical storage solutions. I installed two floating shelves above the desk for about $20 each, where I could display jars of buttons, threads, and small tools. I also found stackable clear plastic bins for $5 each, perfect for fabric scraps and yarn. This setup cost me around $100 in total, but it maximized every inch of the small area. If I could do it again, I’d ensure to label the bins earlier—having to sift through them initially was chaotic.
I also experimented with a pegboard system, which I picked up at a garage sale for around $10. This allowed me to hang frequently used tools like scissors and rulers, keeping them within arm's reach. The pegboard was a game-changer; it not only utilized vertical space effectively but also made the station look like a quaint mini-workshop. It also served as a creative display area where I hung small artworks and inspirational quotes.
Comparing Craft Station Options
Choosing the right furniture was crucial. The wall-mounted desk was tempting, but I needed more surface area. The corner desk I chose balanced spatial efficiency and functional workspace, though initially, the lack of surface was challenging. The standalone table would've been too bulky for my space.
What surprised me was how the corner desk acted as a natural divider, subtly separating my crafting area from the rest of the living room without any physical barriers. This mental partition was important for switching gears into 'creative mode,' allowing me to focus better when crafting.
| Option | Pros | Cons |
|---|---|---|
| Wall-mounted Desk | Saves floor space | Limited surface area |
| Corner Desk | Utilizes corner space well | May feel cramped |
| Standalone Table | Large workspace | Takes up more room |
Practical Tips for Setting Up Your Craft Station
Creating a crafting station was a learning experience. Here’s what I found most helpful:
- Opt for a location with good natural light to reduce eye strain and enhance your mood.
- Use vertical space efficiently with shelves or pegboards.
- Keep essential tools within arm’s reach to maintain workflow efficiency.
- Label storage containers to quickly find what you need without interrupting your creative flow.
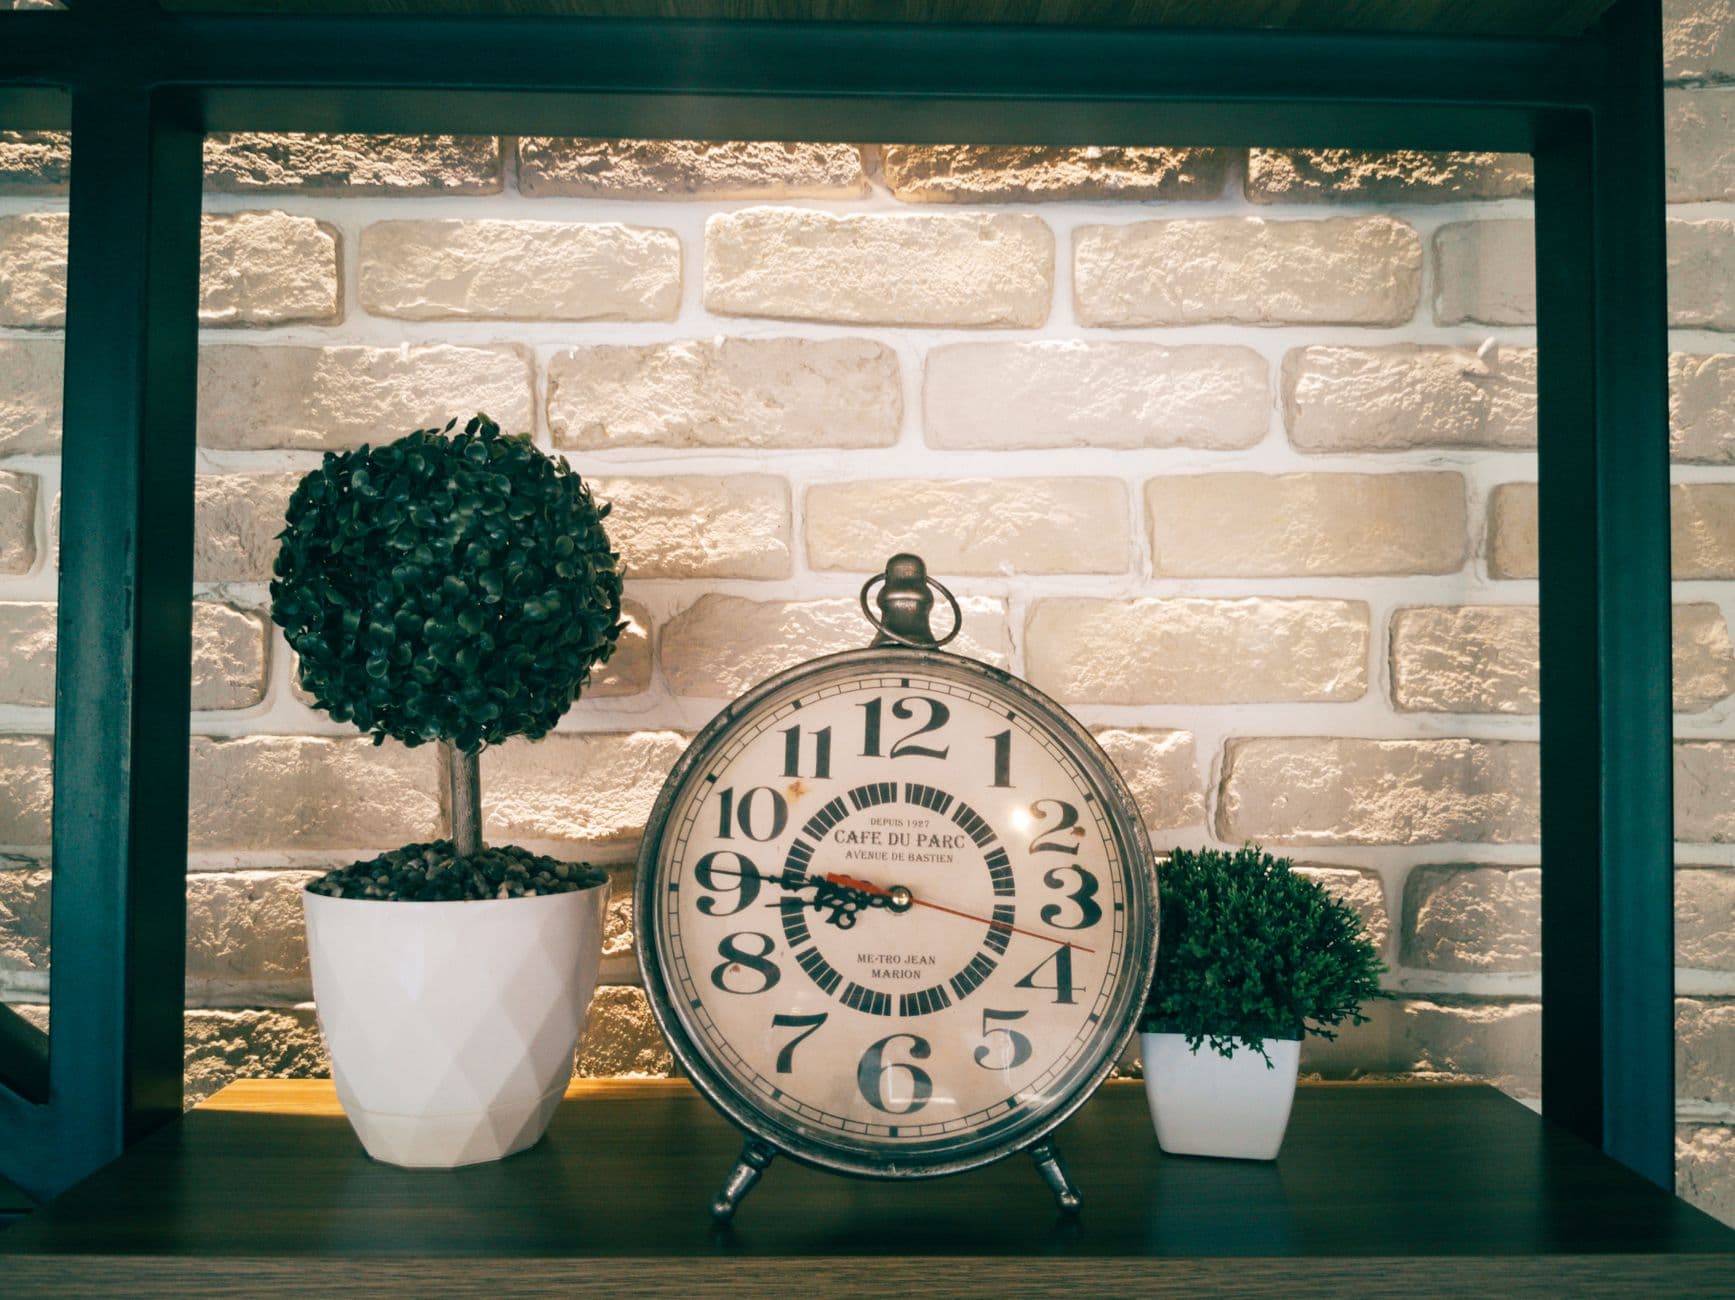
- Personalize the space with inspiring decor, like art prints or a small plant, to make it inviting.
FAQs About Craft Station Set-Up
Q: How much space do I really need?
You can create a functional craft space in as little as a 4x4 foot area. The key is efficient use of space.
Q: What if I don’t have a dedicated room?
Use a corner in a shared space like a living room. This way, your crafting area doesn’t require an entire room.
Q: How do I keep my craft station organized?
Regularly declutter and reorganize your supplies. Use transparent bins and label them. Stick to a system that works for you.
Q: Can I make a craft station on a budget?
Absolutely. By using second-hand furniture, DIY shelving, or upcycling, you can create an inviting space without breaking the bank.
Q: What are some ways to personalize my craft station?
Incorporate personal touches with photos, plants, or handmade decorations that resonate with your personal style.
EditorialOur Take
Creating a dedicated craft station has completely transformed how I approach my creative projects. It’s not just about having the right tools but about fostering an environment where creativity feels welcome. This transformation isn’t for those who need a vast studio, but it’s perfect for crafters working from the corners of their homes. The biggest surprise was how much joy I found in a structured space—it’s made crafting less of a chore and more of a delight. If you’re considering a similar setup, embrace creativity in how you use and organize your space.
This setup isn’t for everyone. If you thrive in a more spontaneous environment or require a lot of physical space for larger projects, this might feel limiting. However, for those who need a dedicated area to harness their creativity without commandeering an entire room, this small but mighty craft station is a wonderful solution.
Published on .
Share now!

Lily Morgan
Home Decor Contributor
Lily Morgan covers home decor for Annyblog with a budget-friendly, renter-aware eye. She loves small changes that make a space feel intentional without a renovation. Lily writes about decorating you can actually undo when the lease ends. Lily uses AI tools to research, draft, and help keep these articles accurate.
More from Lily →The information on this site is of a general nature only and is not intended to address the specific circumstances of any particular individual or entity. It is not intended or implied to be a substitute for professional advice.
Get our best tips in your inbox
A short, practical email now and then. No spam, and you can unsubscribe anytime.